Manicure Safety · Hair & Nail Integrity
Safer Manicures and Pedicures
A manicure or pedicure should improve the appearance of healthy nails without cutting protective skin, spreading germs or concealing an infection. A safer appointment begins before the polish is opened: check the salon environment, ask how reusable tools are processed, protect the cuticles and postpone the service when the skin or nails are already damaged.
The safety principle
Healthy nails need both skilled technique and infection control
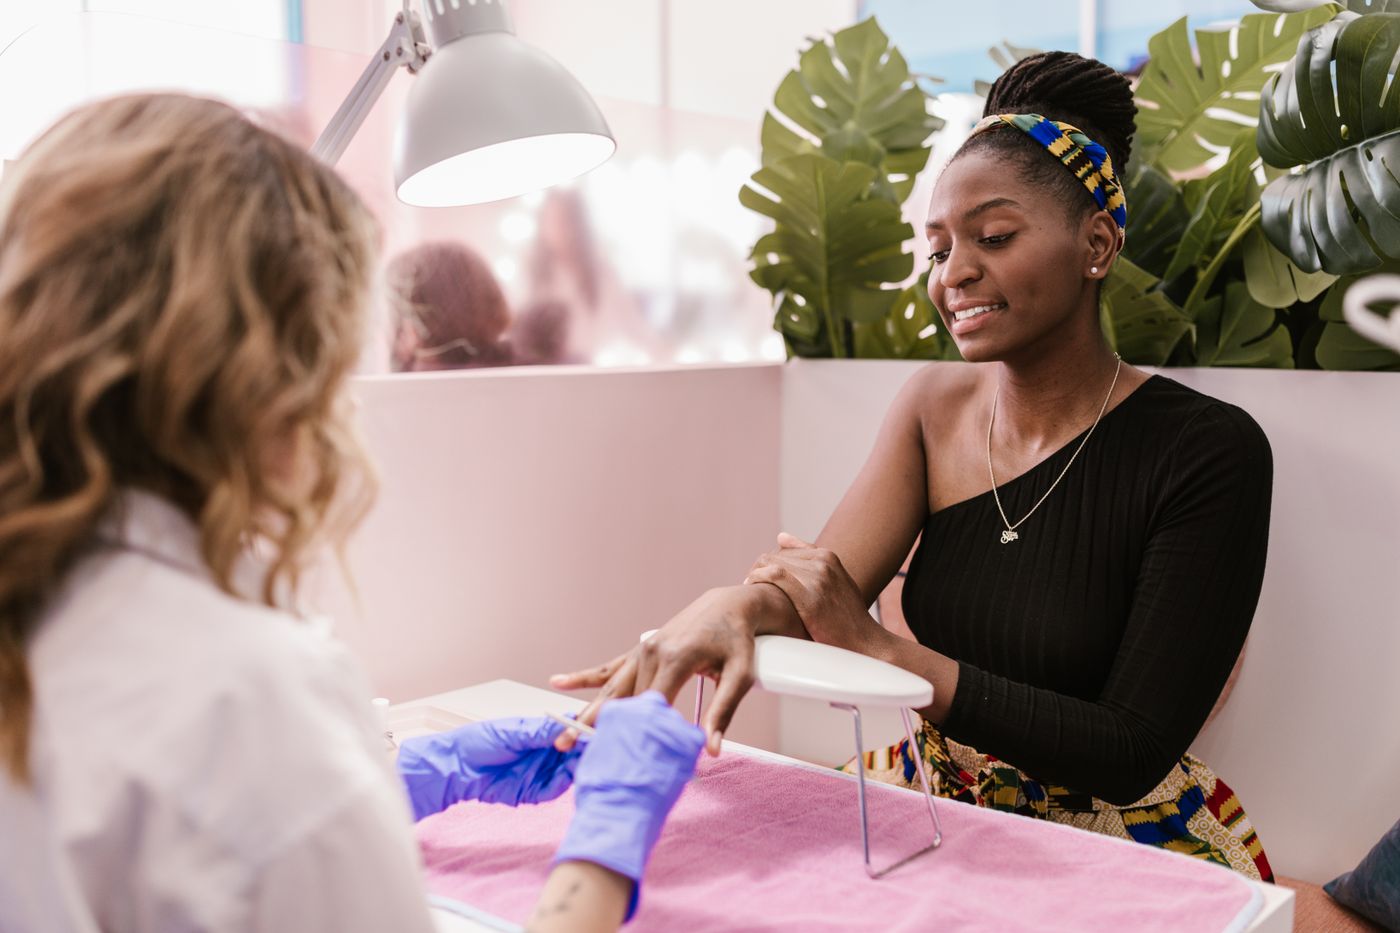
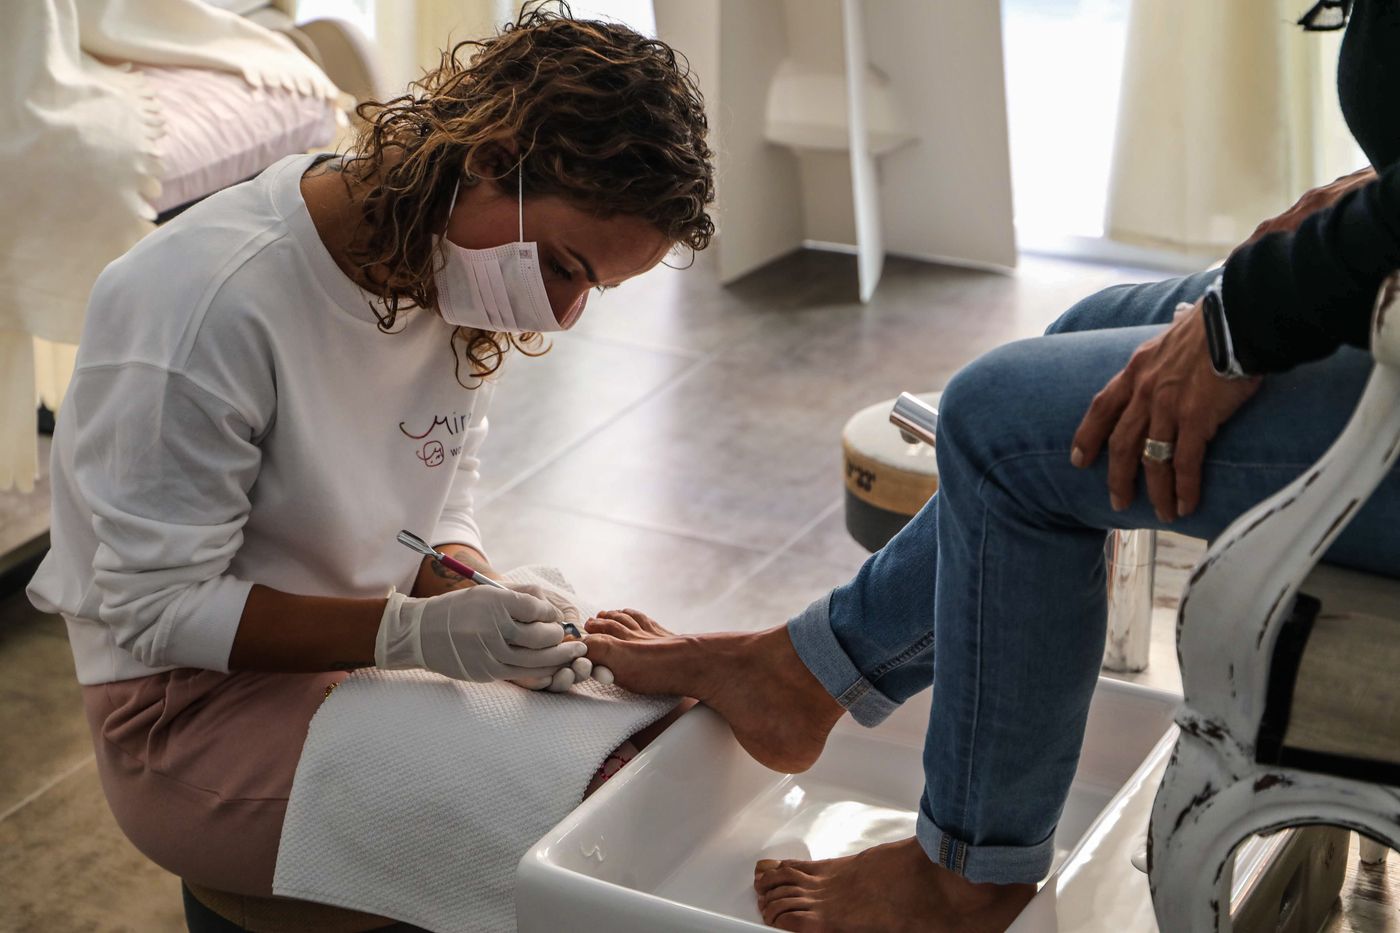
Nail services involve close contact with the nail plate, cuticles, surrounding skin and, during pedicures, areas that may remain warm and damp. Small cuts can create an entry point for bacteria, fungi and other germs.
A clean-looking salon is only the beginning. Safety also depends on hand hygiene, proper processing of reusable instruments, single-use supplies, foot-bath cleaning and a technician who avoids unnecessary injury.
Your appointment safety passport
Three checkpoints from booking to aftercare
Inspect and disclose
Choose a clean salon, check your skin and nails, and mention allergies, diabetes, circulation problems or an active nail condition.
Observe and speak up
Confirm clean tools, protect the cuticles and stop any step that causes bleeding, burning or significant pain.
Monitor and moisturise
Keep the skin comfortable, watch for swelling or colour changes and seek care when symptoms worsen.
Before you sit down
Six salon details worth checking
Workstations are visibly clean
There should not be old nail dust, used cotton, clippings or dirty towels around the service area.
Hands are cleaned between clients
The technician should wash or sanitise their hands and ask the client to clean theirs.
Reusable tools are processed
Do not hesitate to ask how clippers, nippers and metal pushers are cleaned and disinfected or sterilised.
Single-use supplies are new
Items such as wooden sticks, porous buffers and disposable files should not move from one client to another.
Foot baths are prepared between clients
The basin, screen, jets and filter area should be cleaned and disinfected according to the equipment procedure.
The technician welcomes questions
A professional should be able to explain their hygiene process without dismissing the client’s concern.
Reusable instrument route
Cleaning must happen before disinfection or sterilisation
Visible nail dust, skin and product residue can interfere with later processing. Reusable instruments need a complete route—not a quick wipe.
After use
Separate used tools
Place them in a designated container away from clean instruments.
Cleaning
Remove visible residue
Wash and scrub the instrument according to its material and manufacturer instructions.
Processing
Disinfect or sterilise correctly
Use the method, concentration and contact time required for the instrument and local rules.
Storage
Keep processed tools protected
Clean instruments should remain separate from used or unprocessed items.
The cuticle boundary
Protective skin should not be routinely cut away
The cuticle helps seal the space between the nail plate and surrounding skin. Cutting it or pushing it back forcefully makes it easier for germs to enter and can cause bleeding or inflammation.
When gentle tidying is requested, the area should first be softened and handled without cutting living skin.
Pedicure foot-bath safety
Five checks before your feet enter the basin
The previous water is fully drained
No old water, debris or visible residue should remain.
The basin has been cleaned
Cleaning removes material that can reduce disinfectant effectiveness.
Disinfectant has proper contact time
Filling and immediately draining the basin is not a complete disinfection process.
Jets and screens are included
Recirculating areas can retain residue if only the visible basin is wiped.
Your skin is intact
Postpone soaking when there are open cuts, infected sores or significant inflammation.
Pedicure timing
Shave the lower legs after the pedicure—not immediately before
Shaving can create tiny cuts that are difficult to see. Dermatology guidance recommends avoiding lower-leg shaving for at least 24 hours before a pedicure to reduce the chance that germs enter through a nick.
Shape without creating a new problem
Fingernails and toenails are not trimmed identically
Cut almost straight across
Slightly round the corners with a file so they remain strong and do not catch.
Cut straight across
Avoid deeply rounding the corners, which can encourage an ingrown toenail.
Move in one direction
Repeated sawing back and forth can weaken the free edge.
When extra caution is needed
A routine pedicure may need modification or postponement
Small injuries may be harder to feel and can take longer to heal. Medical foot-care advice may be appropriate.
Reduced blood flow can increase healing concerns after even a small cut.
Infection should be treated rather than concealed with polish.
Postpone soaking and avoid shared tools until the condition is assessed.
Tell the technician exactly which gel, adhesive, acrylic or polish caused the previous reaction.
Useful questions
Professional clients are allowed to ask about safety
01“How are these metal tools cleaned and processed between clients?”
02“Is this file, buffer or wooden stick new for my service?”
03“Has this foot bath completed its full cleaning and disinfection cycle?”
04“Please leave my cuticles intact and avoid cutting living skin.”
05“Please stop if the service causes bleeding, burning or significant pain.”
After the appointment
Protect the finish without ignoring the skin
Moisturise the nails and surrounding skin, especially after polish remover or repeated handwashing. Keep feet clean and dry, and use footwear that does not press painfully against freshly trimmed toenails.
Normal
Mild temporary sensitivity after filing or polish removal that steadily settles.
Monitor
Persistent soreness, itching, nail-fold redness or a new colour change.
Seek care
Pus, increasing swelling, severe pain, spreading redness, nail lifting or fever.
Professional assessment
Do not cover a changing nail with another service
Arrange medical assessment when a nail becomes thick, crumbly, unusually coloured, painful or separated from the nail bed, or when the surrounding skin remains swollen or inflamed.
Nail infections can take a long time to clear. Early review is preferable to repeatedly polishing over a problem that is continuing underneath.