Protective Styling · Hair & Nail Integrity
When Braids Are Too Tight
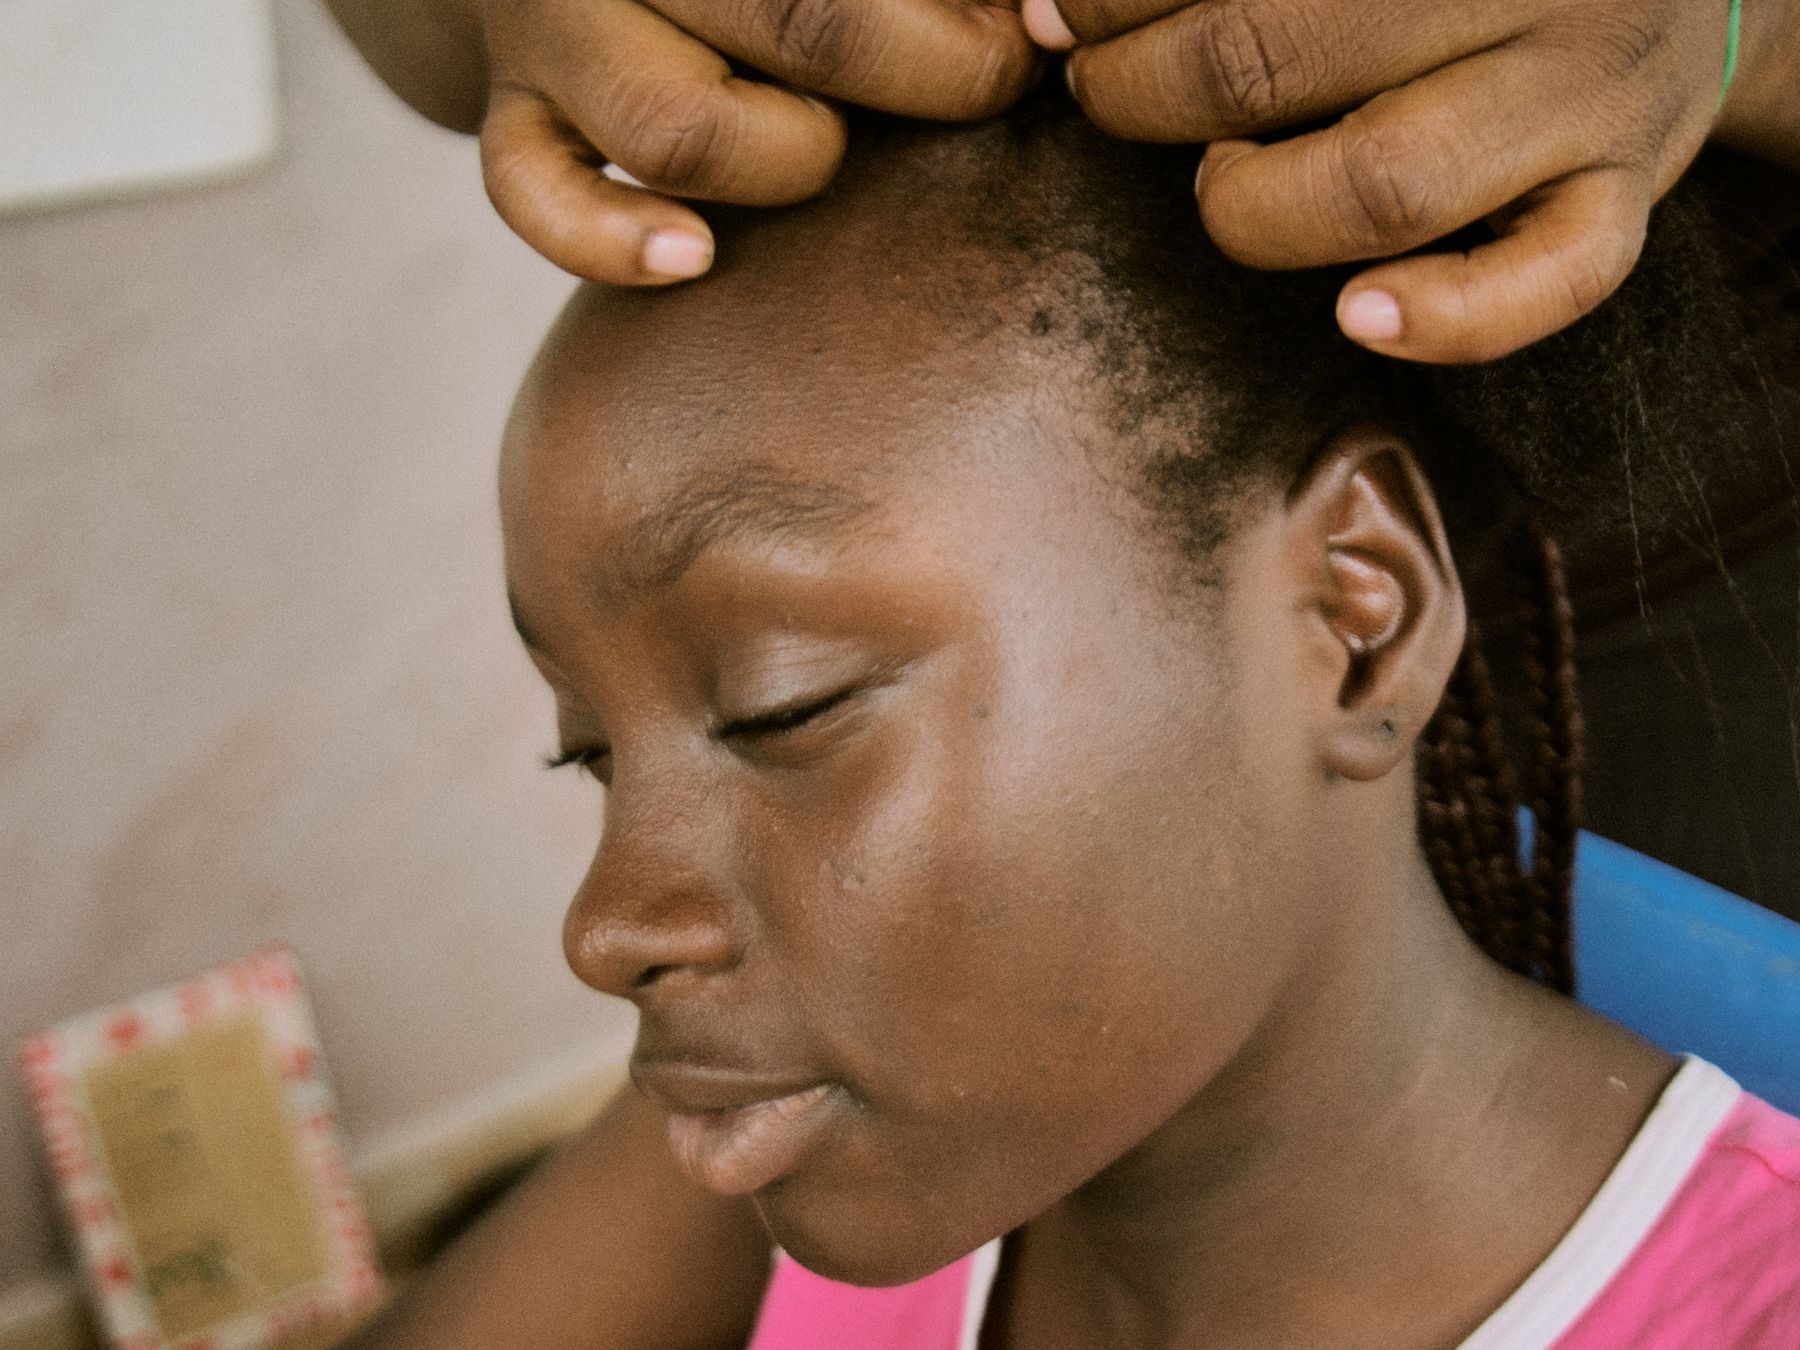
Braids should feel secure, not painful. Burning, scalp bumps, headaches, broken hairs and thinning edges are warning signs that a style is placing too much tension on the hair and follicles. The earlier that tension is reduced, the better the chance of preventing lasting hair loss.
The central rule
Pain is not proof that the style will last
Tight braids, cornrows, extensions, locs, ponytails and buns can repeatedly pull on the same follicles. This repeated force may cause traction alopecia—a form of hair loss created by ongoing tension.
Early traction-related hair loss may improve after the pulling stops. When tension continues for months or years, follicles can scar and the loss may become permanent.
The tightness test
Check the style before leaving the chair
Move your face normally
Smiling, raising the eyebrows and turning the head should not create pulling pain.
Press the hairline gently
The edges should not feel sharply tender, raised or stretched away from the scalp.
Check the first hour
Increasing headache, burning or throbbing is a sign to loosen or redo the style.
If the hairstyle hurts, ask for it to be loosened or redone immediately.
Early warning signs
The scalp often signals damage before obvious hair loss
Pain or tenderness
The scalp feels sore when touched or when the braid moves.
Burning or stinging
Persistent discomfort suggests the style is irritating the scalp.
Small bumps or pustules
Inflamed follicles can appear around tight braid bases or along the hairline.
Broken hairs at the edges
Short uneven hairs around the temples may be an early traction sign.
Hairline recession
The temples or front hairline begin looking thinner or moving backwards.
Visible scalp between braids
Widening spaces may show that the hair density is reducing.
The first 24 hours
What to do when the style feels too tight
Speak up
Ask the stylist to loosen painful sections rather than waiting for the scalp to “adjust.”
Recheck the hairline
Look for redness, raised bumps, swelling, shiny stretched skin or broken hairs.
Remove persistent tension
Undo the most painful braids or remove the style when loosening has not relieved discomfort.
Assess the scalp
Ongoing pain, pus, swelling or worsening inflammation needs professional review.
Tension is more than tightness
Length and weight also pull on the roots
Tiny sections concentrate force on fewer natural hairs.
Use slightly larger sections and avoid gripping fragile edges.
Extra length adds weight that continues pulling throughout the day.
Choose a shorter length or lighter extension material.
Added weight increases movement and repeated follicle stress.
Use fewer, lighter accessories and keep them away from weak areas.
Gathering braids into a firm bun or ponytail adds another layer of tension.
Wear braids down or secure them loosely.
The same follicles experience tension during every installation.
Rotate styles, partings and direction between appointments.
High-risk zones
Give fragile areas less tension
The hairline, temples, area above the ears and nape often contain shorter, finer hairs. These areas should not carry the same amount of extension hair or gripping force as stronger central sections.
Hairline
Leave delicate baby hairs out of the braid where practical.
Temples
Use larger sections and less extension weight.
Side edges
Avoid pulling short hairs into distant partings.
Nape
Do not force fine neck hairs into heavy braids.
A clear stylist brief
Say what your scalp needs before installation begins
01 “Please keep my hairline and temples loose.”
02 “Use less extension hair in the edge sections.”
03 “I do not want a style that causes pain or a headache.”
04 “Please redo any braid that feels too tight while you work.”
05 “Do not pull short hairs from far away into one section.”
Protective-style rotation
Do not repeatedly stress the same follicles
Keep the installation comfortable
Do not tolerate pain simply because the style is new.
Avoid tight re-styling
Loose low styles create less additional pull than firm buns and ponytails.
Take down gently
Use patience and slip so shed hair and knots are not mistaken for breakage.
Change the tension pattern
Rotate partings, braid direction, length and extension weight.
Remove or loosen the style
Do not wait for visible bald spots
Remove or significantly loosen the style when pain persists, bumps develop around braid bases, the scalp swells, broken hairs appear at the edges or the hairline looks thinner.
Seek prompt medical assessment when there is pus, spreading redness, severe tenderness, bleeding, crusting or a smooth shiny area where hair has disappeared.
Traction alopecia
Early change can be reversible; late scarring may not be
Discomfort and breakage
Pain, bumps, short broken hairs and thinning may improve after tension stops.
Visible reduction in density
The hairline recedes or spaces between braids remain noticeably wider.
Smooth or shiny scalp
Scarring can destroy follicles and make regrowth difficult or impossible.
After a tight style
Calm the scalp instead of covering the problem
Once tension is removed, keep the scalp clean and handle the area gently. Heavy oil, edge control or fragrance cannot reverse follicle damage and may make inflammation harder to monitor.
Scratching and picking
Broken skin raises the risk of infection and dark marks.
Immediate tight re-braiding
Give tender or thinning areas time without traction.
Heavy edge products
They can hide breakage and create buildup around fragile follicles.
Professional assessment
When the scalp needs more than a style change
Arrange a dermatology review for ongoing pain, widening areas, persistent scalp bumps, repeated edge breakage or hair that does not begin improving after tension is removed.
Early diagnosis matters because traction alopecia can progress from temporary follicle stress to permanent scarring hair loss.