The Sterile Standard · Rembeka Journal
Clean First, Disinfect Second
Visible residue can reduce the effectiveness of disinfection and sterilisation. Soap, skin, nail dust, oils and product buildup must be physically removed before a chemical disinfectant or sterilisation cycle can work as intended. Safe instrument processing is therefore a sequence—not a single spray, soak or machine cycle.
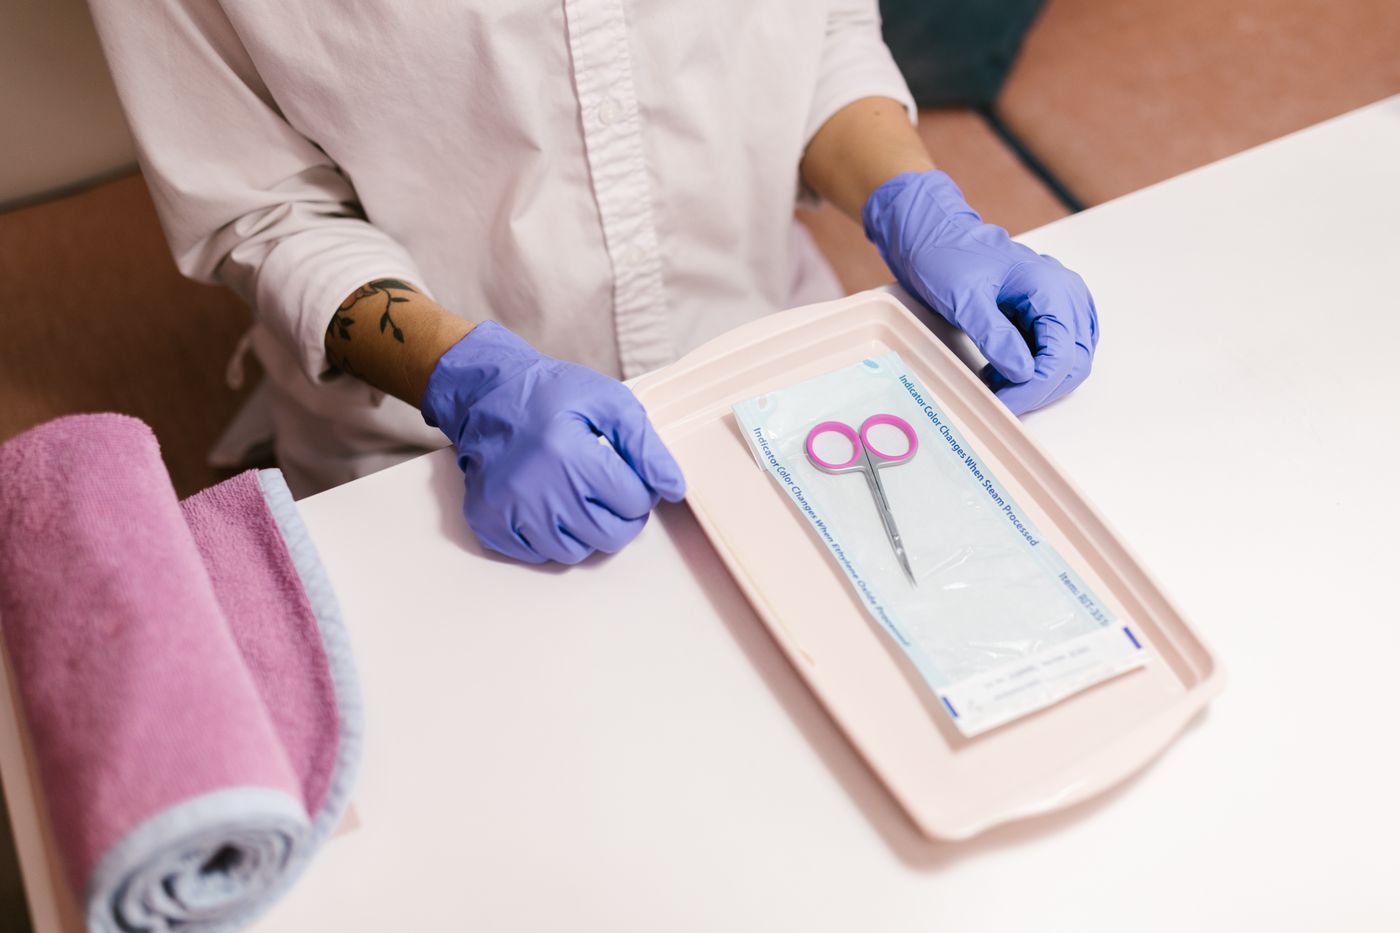
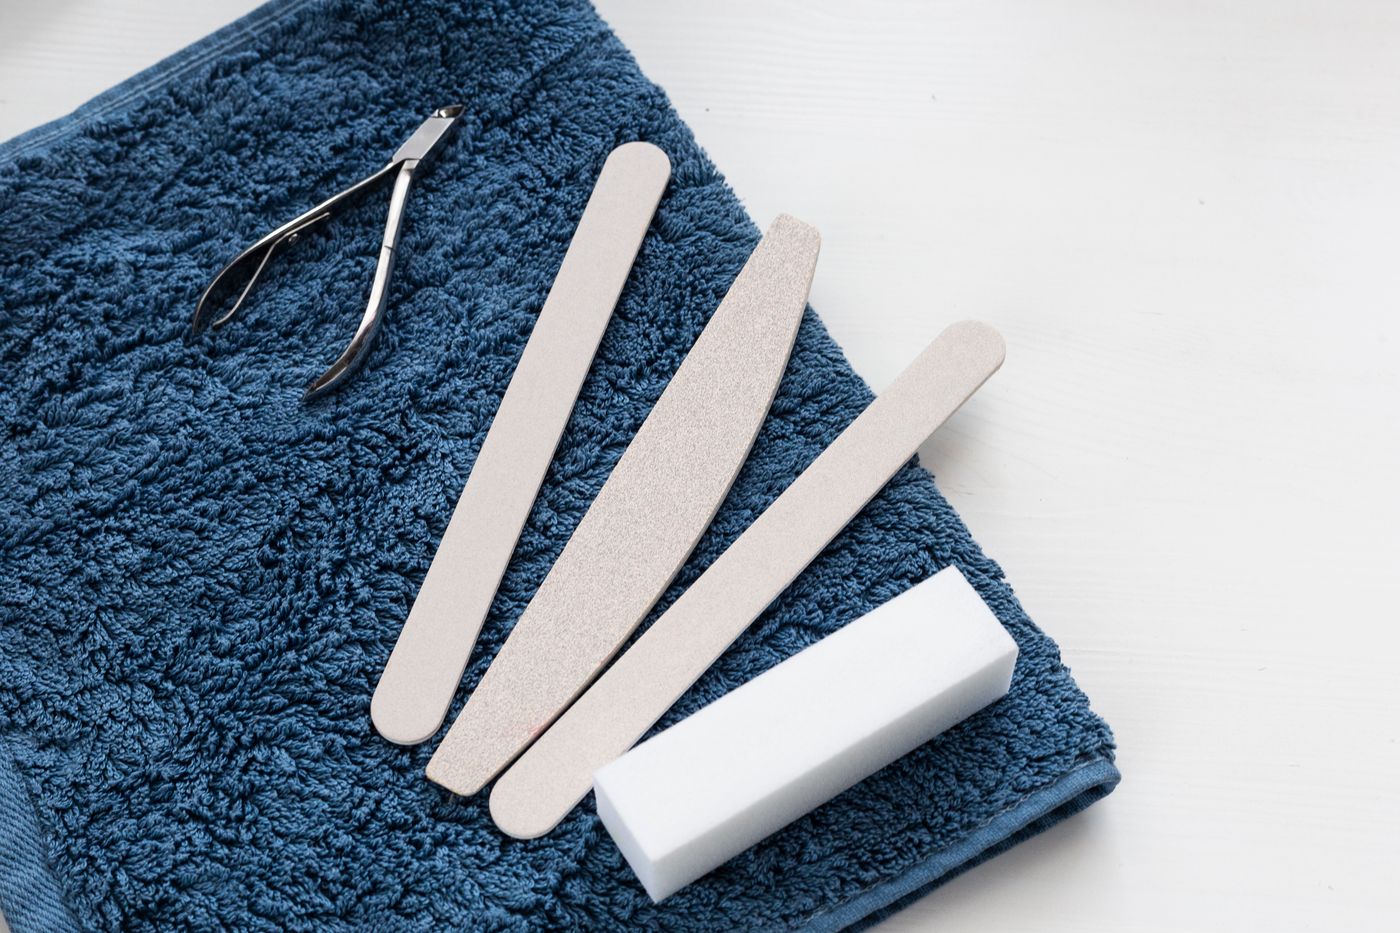
The non-negotiable order
Each stage prepares the tool for the next
Clean
Remove soil, oils, product and organic material.
Inspect and dry
Confirm that every surface, hinge and groove is visibly clean.
Disinfect or sterilise
Use the level required for the item, service and local rules.
Store safely
Protect the processed item from moisture and recontamination.
Three different jobs
Cleaning, disinfection and sterilisation are not interchangeable
Physically removes foreign material
Water with detergent or an appropriate enzymatic product loosens and removes soil from an object.
Reduces or destroys many disease-causing microorganisms
It is used on inanimate items and surfaces but does not necessarily destroy every microbial form or bacterial spore.
Destroys all viable microbial life
It is the highest processing level and is required for instruments and uses identified by applicable safety rules.
Reusable instrument workflow
From the used tray to protected storage
The exact equipment and processing level depend on the instrument, manufacturer instructions and local regulations. The sequence itself should remain controlled.
Contain
Move used tools to the dirty zone
Keep contaminated instruments separate from clean tools, products and client supplies.
Protect
Wear appropriate personal protection
Use gloves and other protection required by the product label and the splash or sharps risk.
Disassemble
Open hinges and separate removable parts
Cleaning solution must reach joints, grooves and concealed surfaces.
Wash
Remove all visible material
Use the approved detergent, water temperature, brush and cleaning method for the item.
Rinse and dry
Remove detergent and retained moisture
Residual cleaner can interfere with later chemistry, while moisture can dilute a prepared solution.
Inspect
Check every edge, hinge and surface
Repeat cleaning when any visible residue, corrosion or damage remains.
Process
Disinfect or sterilise as required
Follow the validated method, full cycle, correct solution and manufacturer instructions.
Release
Store only fully processed tools
Keep clean items dry, protected and separate from the dirty workflow.
Workspace design
Processing should move in one direction
Used-item receipt and cleaning
Used trays, waste, brushes and unprocessed instruments remain here.
Inspection and disinfection or sterilisation
Only visibly clean and dry items proceed to this stage.
Protected storage and service release
Processed instruments remain away from splash, dust and used equipment.
Choose the required processing level
The tool, contact type and local rules determine the endpoint
Discard after one client
Porous files, wooden sticks and supplies labelled single-use should not be cleaned for reuse.
Clean, then use the approved disinfectant
The product must be compatible with the material and approved for the intended use.
Follow the required sterilisation standard
Use the mandated process, packaging, cycle checks and documentation for the service and jurisdiction.
Never guess the processing level. The manufacturer’s instructions, disinfectant label and applicable Kenyan or local public-health requirements take priority.
Disinfectant label anatomy
The bottle instructions are part of the procedure
A disinfectant is only expected to achieve its registered claims when it is prepared and used exactly as directed.
What items or surfaces may be treated?
Confirm that salon tools or hard non-porous surfaces are included.
How is the working solution prepared?
More concentrate is not automatically safer or more effective.
How long must the surface stay wet?
The full stated time must be achieved for the relevant claim.
Will it damage the instrument?
Check metals, plastics, coatings, electrical parts and corrosion risk.
What ventilation and protection are required?
Follow hazard, first-aid, storage and personal-protection directions.
The wet-contact rule
The item must remain visibly wet for the entire stated time
Spraying and wiping immediately does not complete a disinfection instruction that requires several minutes of wet contact. If the surface dries early, the label may require more product to maintain wetness.
Contact time is product-specific. Never copy a time from another disinfectant or assume every microorganism has the same required exposure.
The processing audit
Common shortcuts that weaken the result
Disinfecting over visible dust
Residue remains between the chemistry and the tool surface.
Guessing the dilution
An incorrect concentration may reduce effectiveness or damage materials.
Shortening contact time
The instrument is removed or wiped before the label time is complete.
Overloading a tray or machine
Crowded instruments may prevent complete contact, circulation or drying.
Mixing disinfectants
Combining products can create hazardous fumes or unpredictable chemistry.
Returning clean tools to a dirty container
Processed instruments can be contaminated again before service.
Do not forget the cleaning equipment
Brushes, sinks and trays can also carry residue
A cleaning brush is part of the dirty workflow. It must be cleaned, processed, stored or replaced according to the procedure rather than left wet beside clean tools.
The sink, ultrasonic-cleaner chamber, lids, handles and surrounding work surface also need a scheduled cleaning and disinfection routine.
Chemical safety
Protect the person performing the processing
Disinfectants and cleaning chemicals may irritate the skin, eyes or airways. Use the required gloves, eye protection and ventilation, and keep the original safety information accessible.
Label every prepared solution
Include identity, dilution and preparation or replacement information.
Never mix different products
Use one approved procedure rather than creating an untested combination.
Replace solution as directed
Cloudiness, contamination or an expired use period requires replacement.
Before a tool returns to service
The clean-release checklist
No soil or product remains
No rust, cracks or damaged edges
The required method was completed
No retained moisture remains
The item is protected from recontamination
Logs or cycle indicators are complete where required
What clients should be able to see
A professional hygiene standard is organised and explainable
Used tools should not sit beside clean instruments. Single-use supplies should be new, and reusable equipment should come from protected storage rather than a mixed open container.
Staff should be able to explain the difference between cleaning, disinfection and sterilisation, including which process is used for each service tool.