Nail Integrity · Hair & Nail Integrity
Protecting Nails Under Acrylics
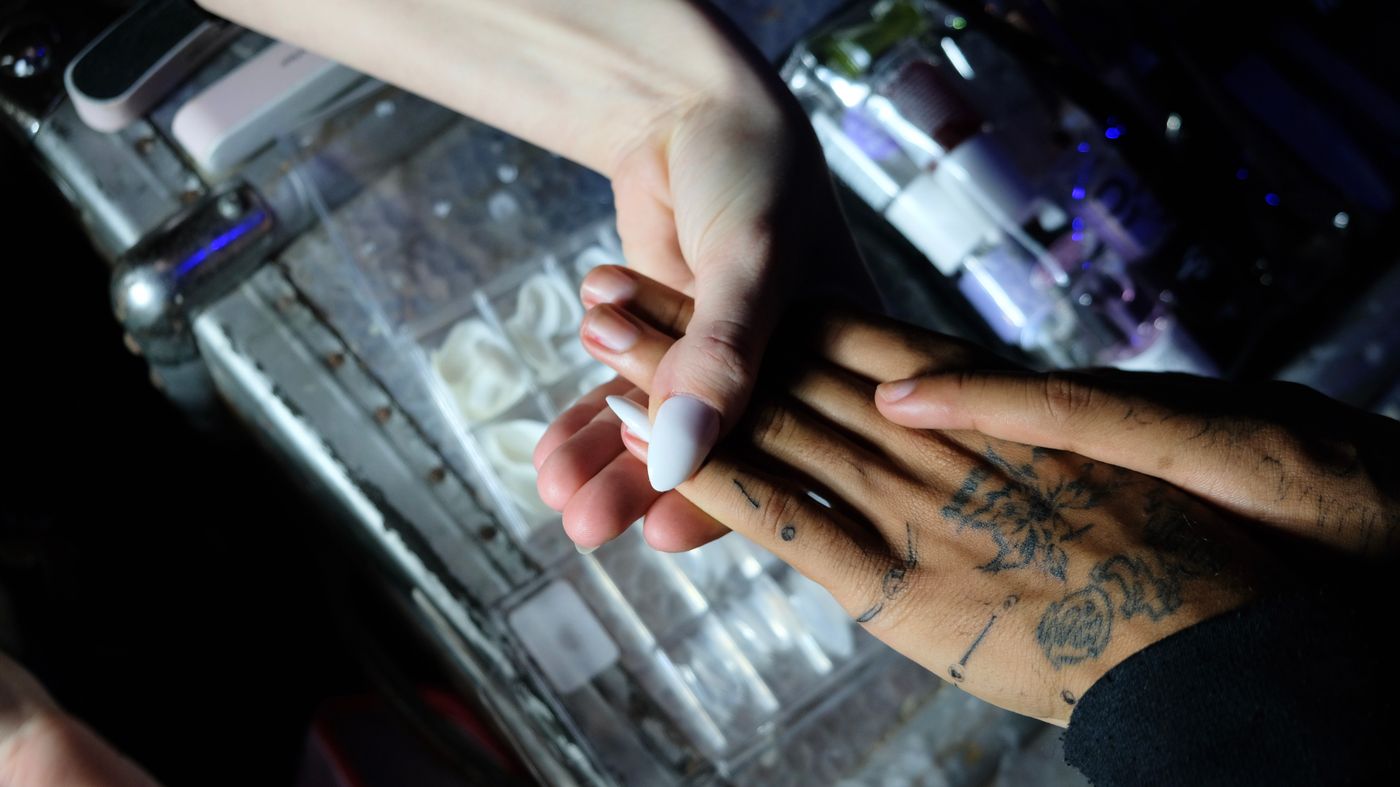
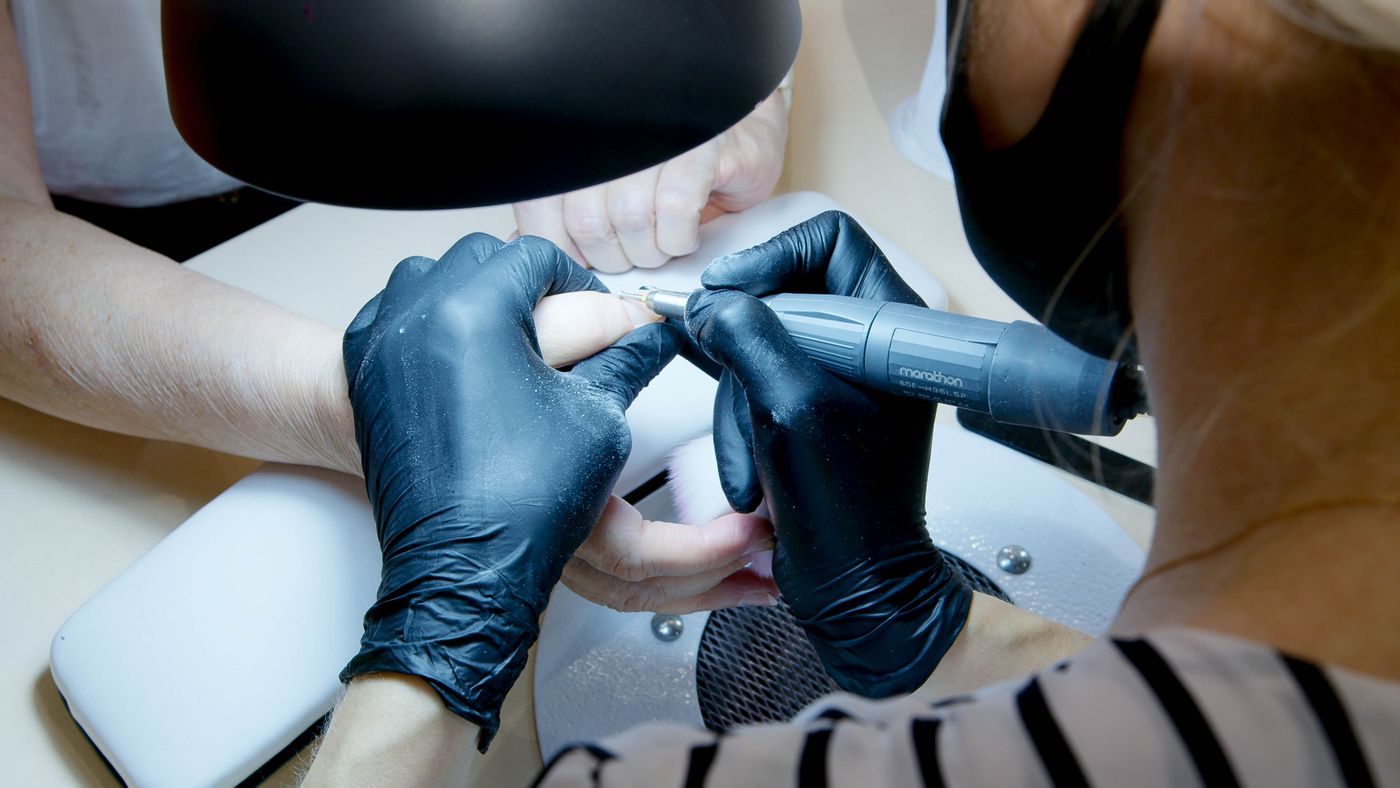
Acrylic nails can create length, structure and detailed nail art, but the natural nail underneath can become thin, rough or brittle when preparation, maintenance or removal is too aggressive. Protection depends on reducing unnecessary filing, keeping lifted areas dry, avoiding repeated picking and allowing damaged nails to recover before another set is applied.
Start with the natural nail
Acrylic should enhance a healthy nail—not hide a damaged one
The visible nail plate is hardened keratin. It grows from the nail matrix beneath the skin, while the surrounding cuticle and nail folds help protect the area where new nail forms.
Acrylic creates a hard covering above that plate. It does not permanently strengthen the nail underneath, and repeated filing, lifting, moisture trapping and forced removal can still cause damage.
What sits where
A simple nail-layer guide
The goal of safe application and removal is to preserve the natural nail plate while avoiding injury to the skin around it.
Before a new set
Four reasons to postpone acrylic application
Pain or swelling
Tenderness, throbbing or swollen nail folds should be assessed before product is applied.
Unexpected colour change
Green, yellow, dark or unusual discolouration can indicate infection, trauma or another nail disorder.
Nail separation
Acrylic should not conceal a natural nail that is lifting away from the nail bed.
Broken surrounding skin
Cuts, bleeding or damaged cuticles increase irritation and infection risk.
From preparation to removal
The complete acrylic lifecycle
Natural-nail protection must continue through every appointment and every stage of wear.
Preparation
Use minimal surface filing
The nail should be prepared without repeatedly thinning the natural plate.
Application
Keep product away from the skin
Acrylic touching the nail folds can contribute to irritation or allergic reaction.
Wear period
Monitor lifting immediately
Spaces between product and nail can trap moisture, soap and microorganisms.
Maintenance
File the enhancement—not the natural nail
Maintenance should target growth, shape and lifted product without grinding the nail plate.
Removal
Soften the acrylic before removing it
Peeling, snapping or prying can remove layers of the natural nail with the product.
Damage guide
What the nail may be telling you
Thin, bendy nails
Repeated filing or forced removal may have reduced nail-plate thickness.
Pause enhancements and protect the nails while the damaged section grows out.
White rough patches
Surface dehydration or superficial plate damage may be present.
Use gentle moisturising care and avoid additional buffing.
Green discolouration
Moisture beneath lifting product may have allowed bacterial growth.
Remove the enhancement safely and arrange professional assessment.
Red, itchy nail folds
Product irritation or allergic contact dermatitis may be developing.
Stop exposure and seek medical advice before another application.
Pain or nail separation
Trauma, infection or significant plate damage may be present.
Do not conceal the nail with another acrylic set.
When acrylic starts lifting
Do not glue down or ignore the gap
Lifting creates a space between the natural nail and the enhancement. Water, soap and debris can enter that space, making the area difficult to dry and monitor.
Avoid pressing the product back down, adding household glue or covering the area with polish. Arrange professional repair or removal before the gap spreads.
Keep it dry
Wear gloves for prolonged wet work until the lifting is repaired.
Reduce leverage
Shortening excess length can help prevent further lifting or injury.
Do not probe underneath
Picking inside the gap can damage the nail and introduce germs.
Safe removal
Resistance means more soaking—not more scraping
Shorten the extension
Reduce length carefully to limit leverage on the natural nail.
File the product surface
Remove the topcoat and reduce acrylic bulk without reaching the natural nail.
Use the correct soak-off method
Allow enough time for the acrylic to soften rather than forcing it away.
Remove only softened product
When product still resists, continue soaking instead of scraping harder.
Wash and moisturise
Clean the hands and apply moisturiser or cuticle oil after removal.
After removal
A natural-nail recovery plan
Keep nails short
Short nails bend less and are less likely to tear while weakened areas grow out.
Moisturise nails and cuticles
Use hand cream or cuticle oil after washing and before sleep.
Wear protective gloves
Repeated water and cleaning chemicals can worsen peeling and brittleness.
Wait for visible recovery
Do not cover nails that remain painful, thin, discoloured or separated.
Possible product reaction
Allergy may appear beyond the nail area
Around the fingers
Redness, itching, swelling or blisters can develop after contact with acrylic ingredients.
On the eyelids or face
Touching the face can transfer allergens from uncured or recently applied nail product.
After repeated appointments
Continued exposure can make an allergic reaction more persistent or severe.
Professional assessment
When the nail needs more than cosmetic repair
Arrange medical review for persistent pain, swelling, pus, green or black discolouration, nail separation, bleeding, a spreading rash or changes that remain after acrylic removal.
Do not place another enhancement over a nail that may be infected, allergic, traumatised or separating from the nail bed.